External Accounts
On this page you can link StoreFront to your PrintSphere account, the file-sharing service hosted by ECO3. You can use PrintSphere to create folders and sub-folders for your image libraries and then upload images to these folders in bulk. These images can then be referenced in customizable documents that you create with the Online Editor.
Open External Accounts
The panel on the left lists the external accounts which have already been set up. The General tab on the right displays the details of the selected account:
Account
The URL of the PrintSphere account (printsphere.com) and your user name for this account. You will need the matching password to create the locations.
Locations
These are the paths to specific folders in your PrintSphere space. A single space can have several locations specified and you can choose the companies and stores that can link to these locations. You can see which customizable products and stores are linked to each location.
Add an external account and location
Here we explain how you can link to folders in your PrintSphere space.
Prerequisites
You must have a PrintSphere account and you will need the credentials of this account to perform this procedure. Create a dedicated folder that you will use for StoreFront images and name this folder StoreFrontLibrary, for example. Create sub-folders as required and add image files that you want to reference in your customizable documents.
1 On the menu bar, choose Advanced > External Accounts.
2 Click the Add button to add a new account to the list.
 |
3 In the Account panel, enter the URL of your PrintSphere account (printsphere.com) and your user name.
4 In the Locations panel, click the Add button to open the Add Location dialog.
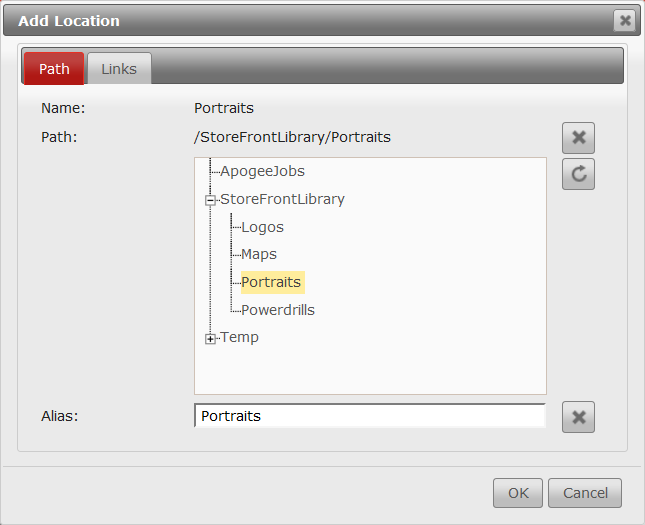 |
5 In the Path tab, choose a folder or a sub-folder and give this path an alias. The alias is the name you will see for this path in the Online Editor.
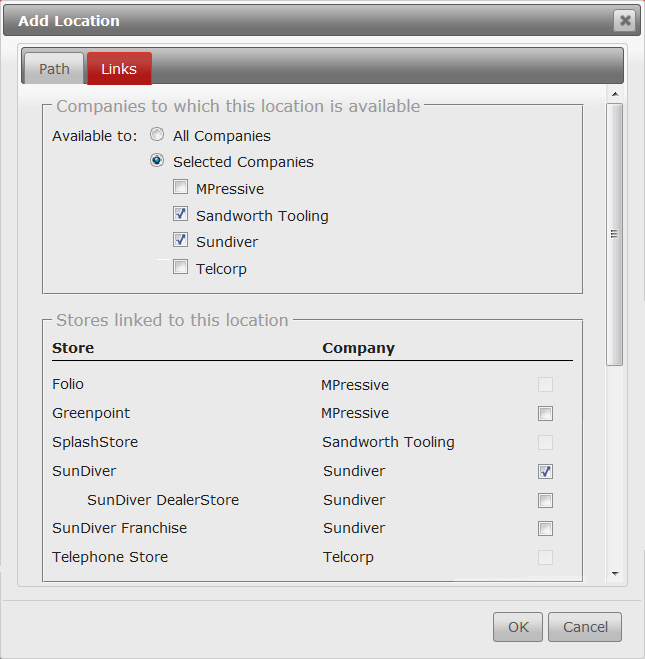
6 In the Links tab, choose the companies and then the stores that you want to want to give access to this folder.
 |
NOTE: Locations (but not accounts) can also be edited and added in the Upload Files dialog of the product wizard for customizable products. See “Creating Products”.
7 Click OK.
The account is added to the list and in the Locations panel you can see how many stores have access to the location.
8 To add additional locations to the same account, select the account in the list on the left and click the Add button again.
9 To edit an existing location, click the Edit button and make your changes in the Add Location dialog.
doc. version 6.0.4